Bread and Butter Pudding: Recipe and Custard Guide
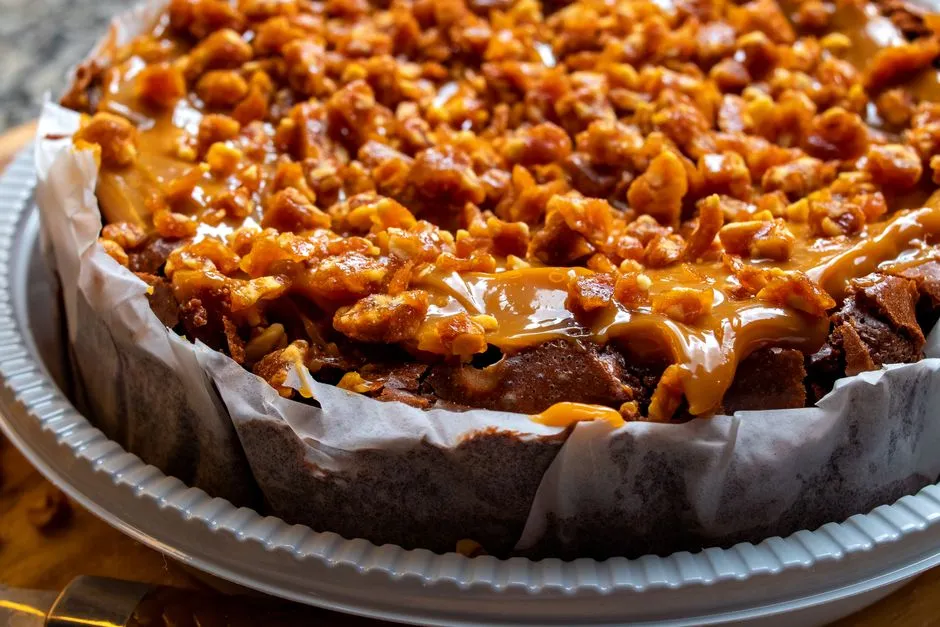
- How do you make bread and butter pudding?
- Which ingredients and method belong together?
- How can you organise the quantities without changing the recipe?
- What should you check before handling the custard?
- How do you check the middle rather than just the top?
- How should you plan cooling and the next serving?
- What changes if someone has a food allergy?
- What should go on your final preparation card?
- Sources
How do you make bread and butter pudding?
Layer buttered bread with dried fruit, add an egg-and-dairy custard, allow the specified soak, then bake and check the centre. This guide follows one published recipe, with separate Food Standards Agency (FSA) safety checks: the middle must reach 75°C for 30 seconds; cool leftovers and refrigerate within two hours, eat within 48 hours or freeze, and reheat only once.
The recipe is Katy Gilhooly's bread and butter pudding for Good Food. This is a desk-researched cooking guide, not a report of our own kitchen testing. The household safety sources below apply to England, Northern Ireland and Wales.
Which ingredients and method belong together?
This compact recipe reference uses Gilhooly's vanilla-extract option, serving six:
- Dairy: 250ml full-fat milk; 300ml double cream.
- Custard additions: three large whole eggs, one yolk, 40g golden caster sugar, 1 tsp vanilla extract.
- Layers: eight slices day-old white crusty bread; 50g softened slightly salted butter, plus greasing butter; 75g mixed sultanas and currants; zest of half a lemon.
- Finish: 25g demerara sugar.
- Ovenproof dish: approximately 20 × 25 × 5cm.
Heat dairy below boiling. Whisk eggs, yolk and caster sugar; gradually stir in warm dairy, then extract. Grease the dish. Remove bread crusts, butter both faces and cut triangles. Make two overlapping bread layers, each followed by half the fruit mixed with zest. Pour over custard. Soak at least 30 minutes; longer soaking belongs in the fridge. Add demerara. Bake at 180°C conventional for 35–40 minutes, looking for a puffed, golden surface. The recipe also permits refrigerated overnight assembly and foil-covered, low-oven reheating. Use the safety checks below alongside these recipe cues.
Gilhooly explains that slightly stale bread absorbs custard more evenly; the soak gives the custard time to enter the bread.
How can you organise the quantities without changing the recipe?
Put out separate containers labelled custard, layers and finish. That simple division makes it harder to put all the sugar into the jug or overlook the extra butter for greasing.
Here is an original allocation worksheet, calculated from the named formula rather than from a test batch:
| Check | Calculation | What the result means |
|---|---|---|
| Measured dairy | 250 + 300 = 550ml | Dairy volume only; eggs also enter the custard |
| Added sugars | 40 + 25 = 65g | Two separate jobs, not one addition |
| Dried fruit per layer | 75 ÷ 2 = 37.5g | An equal division of fruit before adding zest |
| Egg accounting | Three whole eggs + one yolk | Not four whole eggs |
The sugar total is not a nutrition calculation: it excludes sugars already present in other ingredients. Likewise, the dairy total is not a measured final custard yield. Writing either total on a shopping list is useful; presenting either as the composition of the finished pudding would be misleading.
Keep the source's egg sizes and separate yolk. A recipe-specific custard ratio is a description of this formula, not permission to substitute any combination with the same apparent volume.
For your own preparation note, write the actual loaf type, dish dimensions and oven mode. If you change them, mark the change plainly. You then have an honest record to compare with the published instructions, rather than an unexplained result attributed to the recipe.
What should you check before handling the custard?
Use ingredients within their applicable dates and storage instructions. Stale bread is not permission to use mouldy or spoiled bread; Hong Kong's Centre for Food Safety advises discarding mouldy food. Keep chilled ingredients refrigerated until preparation.
The FSA's current egg-handling advice says to reject damaged shells, avoid washing eggs, and wash and dry hands before and after handling eggs, shells or packaging. Clean utensils and surfaces after raw-egg contact; keep splashes away from ready-to-eat foods.
This method finishes cooking the custard in the oven. Do not treat the warm mixture in the jug as a ready-to-eat sauce or taste it raw. Handle the saucepan and hot dairy carefully, use appropriate oven gloves, and keep your face clear of steam when opening coverings. Follow the appliance and thermometer instructions.
How do you check the middle rather than just the top?
Write down three different readings: the oven setting, the food's centre temperature and duration, and the fridge temperature. They describe different things. A correctly set oven does not prove that the centre has reached the required temperature.
The FSA cooking guidance lists 75°C for 30 seconds as one accepted centre-temperature combination. Use a clean food thermometer and clean its probe after use. Colour and puffing are recipe cues, not substitutes for the core check. If the middle has not met the cooking check, continue cooking before serving.
A useful preparation record has separate boxes for “oven timer finished” and “centre checked”. Do not pre-fill the second box from the first. Nor should a photograph of a browned top count as evidence of the centre's temperature.
How should you plan cooling and the next serving?
Follow FSA chilling guidance: cool cooked food at room temperature, dividing it into smaller portions to help it cool, then refrigerate within one to two hours. Do not put hot or warm food in the fridge. Keep the fridge at 0–5°C; eat leftovers within 48 hours or freeze promptly after cooling.
For a fictional timing example, pudding cooked on Tuesday at 18:30 should be cooled and refrigerated by 20:30 at the latest, and eaten by Thursday at 18:30 or frozen. These are calculated limits, not a suggestion to leave food out until the deadline.
Label containers with cooking time, refrigeration time and whether a portion has already been reheated. Choose the portion you need before reheating, leaving the remainder refrigerated.
Reheat once, until steaming throughout, checking the centre as above. A low oven setting is not a completed reheating check. No fixed reheating duration is supplied here because portion size and starting temperature differ. Nor does this guide promise that a stored pudding will regain its original top texture.
For the wider menu schedule, use our make-ahead pub dessert guide.
What changes if someone has a food allergy?
The listed formula contains milk and eggs, and ordinary wheat bread contains gluten. Check every actual ingredient label and the diner's requirements; do not infer suitability from the recipe name or a website badge.
The FSA's consumer allergy guidance explains that heating does not remove allergenic potential and that removing an offending ingredient from a finished dish is insufficient. Prevent cross-contact with clean equipment and separate preparation, and keep ingredient information available.
If you cannot establish suitability, do not serve this pudding to that person. Ask them about a suitable alternative and follow their healthcare professional's advice where relevant; this article is not personalised dietary guidance.
What should go on your final preparation card?
Record the source recipe, selected ingredient option, quantities checked, dish used, planned serving and storage route. Leave spaces for actual cooking and chilling checks. Keep plans distinct from observations: a planned temperature is not a measured one.
That card is reusable even when the dessert changes. Browse pub desserts for the dessert collection and sides and sauces for accompanying dishes, checking each recipe's own method and care instructions. A complete pudding plan includes the next serving as well as the first.