Stout-Braised Beef Pie With Crisp Puff Pastry
- A pie with a crisp lid and a properly thick middle
- Ingredients for six servings
- Equipment that earns its cupboard space
- Brown the beef in batches
- Build the braising liquid
- Braise until fork-tender
- Reduce the gravy before cooling
- Fit the puff-pastry lid
- Bake by colour and centre temperature
- Make the timing work for dinner
- Useful variations that preserve the ratios
- Storage and reheating
- Complete the pub-style menu
A pie with a crisp lid and a properly thick middle
This stout-braised beef pie serves six from a 9-inch (23 cm) pie dish. It uses a cold, deeply savoury filling under one sheet of puff pastry. There is no bottom crust to turn damp while the beef braises, and no packet mix to negotiate with.
The method has two distinct stages: braise the filling until the beef is fork-tender, then cool it completely before adding cold pastry. Warm gravy melts pastry fat before the oven can lift the layers. That is how a promising pie acquires a small beige duvet.
Allow about 35 minutes of active work, 2½–3 hours for braising, 8–15 minutes for uncovered reduction, several hours to cool and chill the filling completely, 15 minutes for optional pastry chilling, 25–35 minutes for the final bake, and 10–15 minutes to rest. The filling can be made up to three days ahead.
Ingredients for six servings
Beef filling
- 2 lb (900 g) boneless beef chuck, cut into 1½-inch (4 cm) pieces
- 1½ tsp fine salt, divided, plus more to taste
- ¾ tsp black pepper
- 2 tbsp (30 ml) neutral oil, divided
- 2 medium yellow onions, about 10½ oz (300 g), sliced
- 4 medium carrots, about 9 oz (250 g), cut into ½-inch pieces
- 3 garlic cloves, finely chopped
- ¼ cup (30 g) all-purpose flour
- 12 fl oz (355 ml) stout
- 2 cups (480 ml) unsalted or low-sodium beef stock
- 1 tbsp (15 ml) Worcestershire sauce
- 1 tbsp (15 ml) tomato paste
- 1 tsp dried thyme, or 1 tbsp fresh thyme leaves
- 1 bay leaf
Pastry lid
- 1 sheet all-butter puff pastry, about 14 oz (400 g), thawed but cold
- 1 large egg
- 1 tbsp (15 ml) water
- flour for rolling
If avoiding alcohol, replace the stout with another 12 fl oz (355 ml) beef stock plus 1 tbsp balsamic vinegar and 1 tsp dark brown sugar. Do not tell someone that a long braise makes alcohol irrelevant; cooking can reduce it without guaranteeing that none remains.
Equipment that earns its cupboard space
Use a 5- to 6-quart heavy Dutch oven or deep oven-safe pot, a deep 9-inch pie dish with at least a 2½-quart capacity, a rimmed tray, and an instant-read thermometer. A wide pot browns beef and reduces gravy more efficiently than a narrow one.
The filling starts on the stove and finishes covered in the oven. If your pot is not oven-safe, transfer the simmering mixture to a covered casserole before braising.
Brown the beef in batches
Heat the oven to 325°F (165°C), with a rack in the middle.
Pat the beef dry. Season it with 1 teaspoon salt and the pepper. Heat 1 tablespoon oil in the Dutch oven over medium-high heat. Add half of the beef in a single uncrowded layer. Brown for 6–8 minutes, turning to colour several sides, then move it to a clean plate. Add the remaining tablespoon oil and repeat with the other half of the beef.
Do not use the raw-beef plate for cooked food until it has been washed. Keep the cutting board and knife away from ready-to-eat ingredients, wash hands after handling the meat, and clean splashed surfaces.
Crowding releases water faster than it evaporates, so the meat turns grey and the bottom of the pan never develops the browned layer that gives the gravy depth. Use the two measured batches so each receives one tablespoon oil. The beef will spend hours together later and does not need a team-building exercise now.
Build the braising liquid
Reduce the heat to medium. Add the onions, carrots, and remaining ½ teaspoon salt. Cook for 8–10 minutes, stirring and scraping the pot, until the onion softens and begins to colour. Add the garlic and cook 30 seconds.
Stir in the tomato paste and cook for 1 minute. Sprinkle over the flour and cook for 2 minutes, stirring so no dry patches remain. The flour should coat the vegetables and the bottom may look sticky, but it should not scorch.
Pour in about one-quarter of the stout while scraping the browned layer with a wooden spoon. Add the remaining stout gradually, stirring smooth after each addition. Stir in the stock, Worcestershire sauce, thyme, and bay leaf. Return the beef and any juices to the pot.
Bring just to a simmer. The liquid should nearly cover the beef; a few upper edges can peek out. If your pot is unusually wide and shallow, add only enough extra stock to bring the level close. Excess liquid has to be reduced later, and nobody has ever looked at dinner with gratitude and said, “What this pie needed was an indoor pond.”
Braise until fork-tender
Cover the pot and move it to the oven. Braise for 2 hours, then check. Stir, turn a few pieces, and continue covered for 30–60 minutes, until a fork slides into several pieces with little resistance.
Whole beef roasts and steaks have a government safe minimum of 145°F (63°C) followed by a three-minute rest, but chuck needs much more cooking for its connective tissue to soften. Safety and tenderness are different finish lines. This braise is ready when it is safely cooked and fork-tender, not merely when the thermometer first passes a minimum.
The USDA safe-temperature chart provides the current minimums. For the assembled pie, which functions as a casserole and reheats a cooked filling, check for 165°F (74°C) in the centre.
Reduce the gravy before cooling
Remove the bay leaf. Set the pot over medium heat, uncovered, and simmer for 8–15 minutes. Stir gently so the tender beef stays in pieces. The filling is thick enough when a spoon drawn across the bottom leaves a trail for about a second before gravy flows back.
Taste only with a clean spoon. Add salt if needed. Stout, stock, and Worcestershire brands vary in bitterness and sodium, so seasoning before reduction risks a salty finish.
Transfer the filling to a shallow container or the pie dish and cool briefly, no more than two hours at room temperature. Refrigerate uncovered until no longer steaming, then cover and chill until cold. Dividing it between shallow containers speeds cooling. The USDA advises refrigerating perishables within two hours, or one hour when ambient temperature is above 90°F (32°C).
The chilled filling should be spoonable, not pourable. If it sets very firmly, that is fine; heat will loosen it during baking. If it remains watery when cold, return it to a saucepan and reduce it before assembling.
Fit the puff-pastry lid
Heat the oven to 400°F (205°C). Place a rimmed baking sheet on the lower rack to catch determined drips.
Spoon the cold filling into the 9-inch pie dish, leaving about ½ inch (1.25 cm) below the rim. On a lightly floured surface, roll the cold pastry just large enough to overhang the dish by 1 inch (2.5 cm).
Beat the egg with 1 tablespoon water. Brush a narrow band of egg wash around the dish rim. Lay on the pastry without stretching it. Press to seal, trim the overhang to about ¾ inch (2 cm), and crimp with a fork or fingers. Cut three 1-inch vents in the centre. Brush the top lightly with egg wash, avoiding heavy puddles at the cut edges, which can glue layers together.
If the pastry becomes soft or shiny, refrigerate the assembled pie for 15 minutes. Cold pastry plus hot oven creates the steam that separates its layers.
Bake by colour and centre temperature
Set the pie on the hot baking sheet. Bake for 25–35 minutes, rotating once about halfway through, until the pastry is deeply golden, fully puffed at the centre, and the filling bubbles at the vents.
Insert a clean thermometer through a vent into the centre of the filling. It should reach 165°F (74°C). If the pastry browns before the filling is hot, tent the top loosely with foil and continue. A refrigerated ceramic dish may need the longer end of the range; confirm that the dish manufacturer permits movement from refrigerator temperature into a 400°F oven, or let the filled dish temper as its instructions require before adding cold pastry.
Rest for 10–15 minutes. This lets the gravy settle and gives the pastry a fighting chance when cut. Resting does not make it cold; it makes it less inclined to leave the plate at speed.
Make the timing work for dinner
The most relaxed schedule is:
- Braise and reduce the filling one day ahead.
- Cool it in shallow containers and refrigerate.
- Begin assembly about 80 minutes before serving; that allows roughly 10 minutes to assemble, 15 minutes for optional chilling, up to 35 minutes to bake, 15 minutes to rest, and a small timing cushion.
- Put the cold filling in the pie dish while the oven and baking sheet heat, then add the pastry lid.
- Bake, then rest while vegetables finish.
For same-day service, spread the filling in a shallow metal pan set over a rack. Refrigerate once steam subsides, within the food-safety limit. Do not place a huge, piping-hot Dutch oven in a crowded refrigerator; it cools slowly and warms nearby food.
Useful variations that preserve the ratios
For mushrooms, brown 8 oz (225 g) sliced cremini mushrooms after the beef and before the onions. Their water must evaporate and their edges should colour. Keep the stout and stock unchanged; the final reduction handles the extra moisture.
For individual pies, divide cold filling among six 10- to 12-ounce ramekins. Cut separate pastry lids and bake on a tray for about 20–30 minutes, checking at the early end but still requiring deeply golden pastry and 165°F (74°C) filling.
For a thicker mash-and-gravy plate, serve a modest spoonful of pub-style onion gravy alongside rather than mixing it into the recipe. The filling already has its own balanced flour and liquid ratio.
Storage and reheating
Refrigerate leftovers within two hours in shallow covered containers. USDA guidance keeps cooked beef dishes for three to four days in a refrigerator at 40°F (4°C) or below. Reheat only the portion needed to 165°F (74°C).
An oven preserves pastry better than a microwave. Place a portion on a tray, cover the exposed filling edge loosely with foil, and heat at 350°F (175°C) until the centre reaches 165°F. Remove the foil for the last few minutes if needed. The microwave is faster but softens pastry; this is not a moral failing, merely physics wearing slippers.
Freeze cooled filling without pastry for up to about two to three months for best quality. Thaw in the refrigerator, bring it to a simmer, cool again promptly, then assemble. Avoid freezing an unbaked puff-pastry pie in a fragile ceramic dish unless the dish manufacturer approves freezer-to-oven use.
Complete the pub-style menu
Serve the pie with peas, roasted carrots, or mashed potatoes. Follow it with sticky toffee pudding if the occasion calls for two courses that both understand sauce.
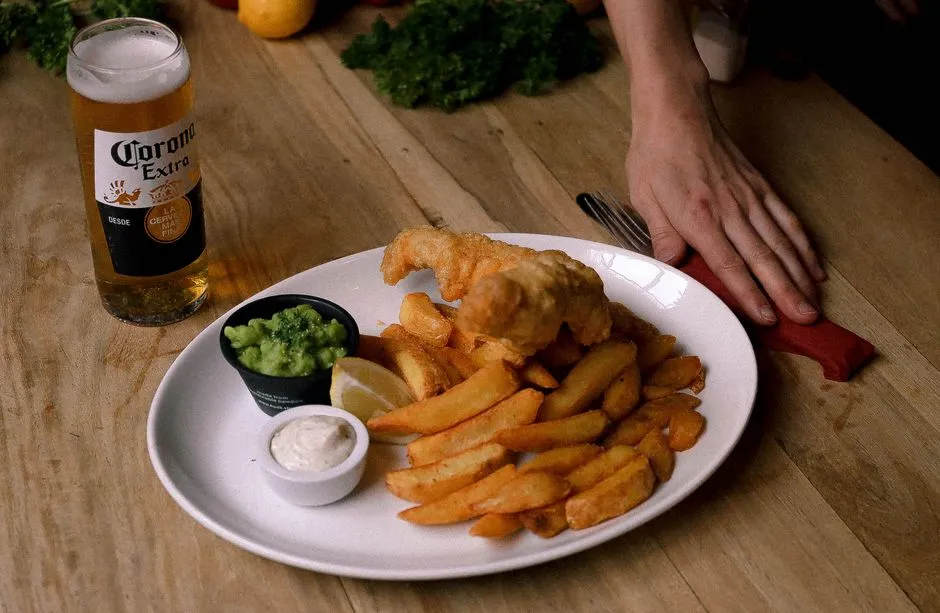
For a different main, beer-battered fish and chips uses a carefully staged fry rather than a long braise. The two recipes share one principle: texture improves when temperature is measured instead of addressed with optimism.
Slice through the pastry, spoon from the centre, and make sure every serving gets gravy. The crust will scatter. That is not mess; that is applause.